Aluminium Falcon Cookery

Image

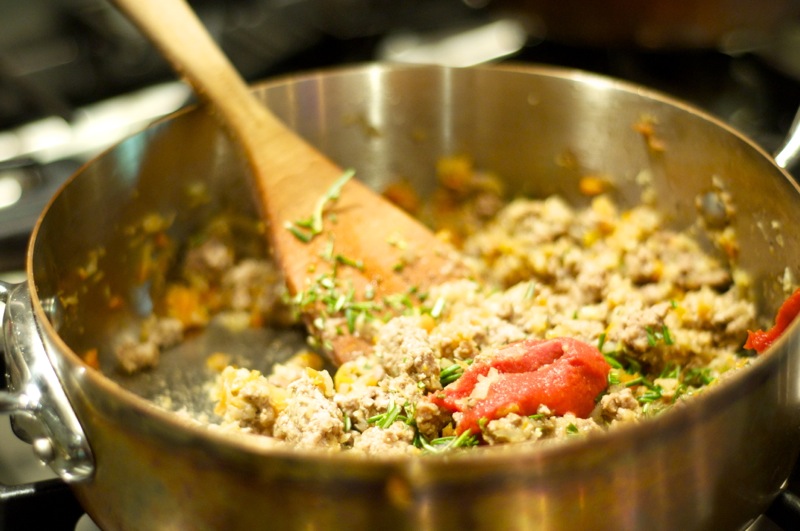
Recently Curt and I became the proud owners of a new Airstream Trailer, which has been a dream for quite some time.  We set out on our maiden voyage, eager to explore the rockies during the peak fall color season. During the welcome to Airstream tour at the dealership, our guide reluctantly showed us how the oven operated, but casually mentioned “no one uses them anyway.”  I took this as a challenge (OK, I admit that I can be competitive at times!) and en route, thumbing through my Molly Stevens braising cookbook, decided to tackle her Bisteces Rancheros (a fancy way of saying Shoulder Steaks Braised with Tomatoes, Potatoes & Poblano Peppers).
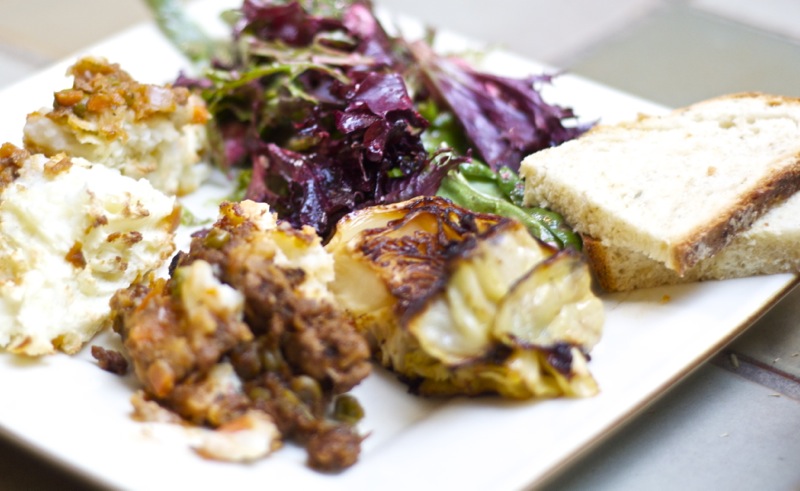
This dish is a meal unto itself and needs no accompaniment, but Molly suggests perhaps serving with a Boston lettuce salad with scallions and sliced radishes.

Serves 4-6, braising time about 1 1/2 hours

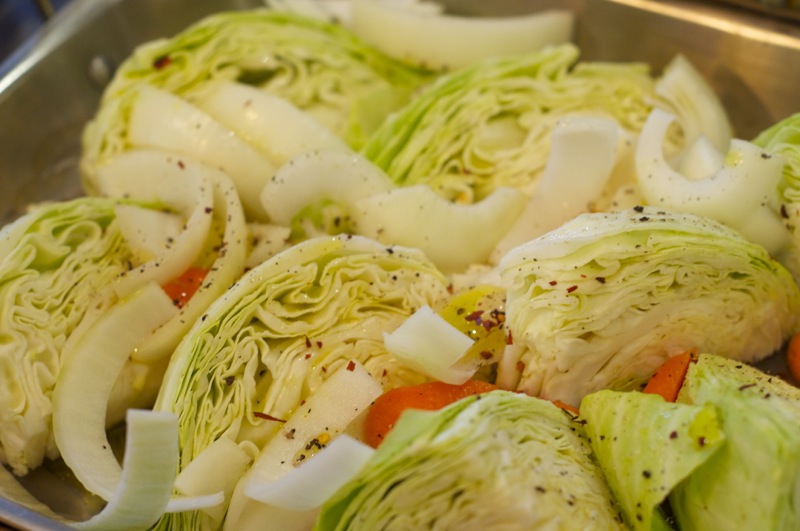
2 medium poblano peppers (about 8 ounces total)
2 pounds thin-cut (1/2″) boneless chuck or shoulder steaks, cut into 8 or 10 individual steaks
Coarse salt and freshly ground black pepper
4 tablespoons extra-virgin olive oil
1 very large or 2 medium white onions (about 12 ounces total), thinly sliced
2 large garlic cloves
1 tablespoon cumin seeds, toasted and ground
1 tablespoon coriander seeds, toasted and ground
One 28-ounce can whole peeled tomatoes with their juice
1 pound small red or white potatoes, scrubbed
2 tablespoons red wine vinegar

  1. Preheat oven to 325 degrees.
  2. Roasting the peppers: set the poblano peppers directly on a flame to high. Roast, turning with tongs as each side chars, until charred, about 8 minutes total. (If you don’t have a gas burner place under the broiler, turning with tongs until completely blistered. Transfer the peppers to a medium bowl, cover with plastic wrap, let cool until
    enough to handle.
  3. Peeling the peppers: When the peppers are cool, slip off the skins. Avoid the temptation to rinse under the faucet or you will wash away much of their flavor (I use a paper towel to remove.) Slice the peeled peppers open, cut away the stems, remove the seeds. Cut into strips and set aside.
  4. Browning the steaks: Season the steaks with salt and pepper. Heat the oil in a large skillet over medium heat. Add half the steaks and cook, turning once with tongs, until they develop a ruddy brown exterior, about 3 minutes per side. Transfer to a large cazuela or other shallow bowl (I used my dutch oven) and brown the second batch. Add another tablespoon of oil and heat until it shimmers before adding the steaks.
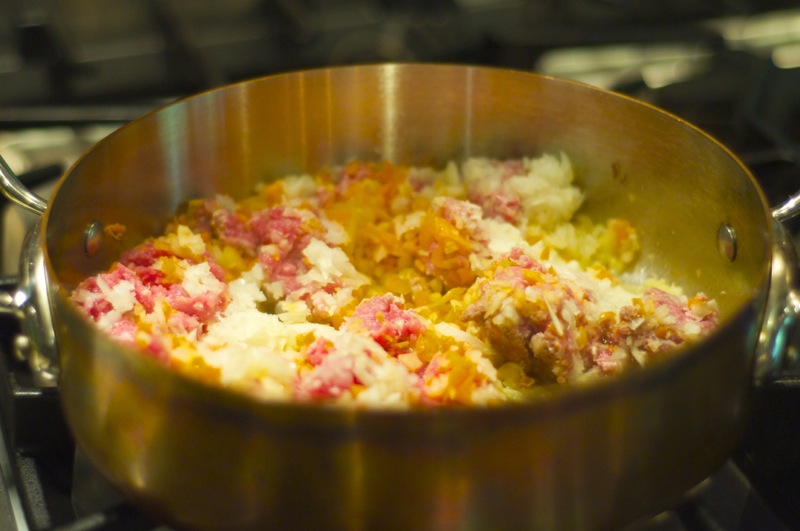
  5. The aromatics and braising liquid: When all the steaks are browned, pour the oil out. If the skillet is blackened, clean it before continuing. Add the remaining 1 tablespoon oil and heat over medium-high heat. When the oil is hot, add the onions, season with salt and pepper, stir, and saute until limp and beginning to brown in spots, about 6 minutes. Add the garlic, cumin, and coriander and cook for another minute. Pour the juice from the tomato can into the skillet. Break up the tomatoes and drop into the skillet.  Season with salt and pepper, stir, and simmer the juices to thicken them a bit, about 4 minutes. Taste for salt and pepper then remove from the heat.
  6. The braise: Slice the potatoes into 1/8″ thick rounds and layer them over the steaks. Stir the vinegar into the tomato sauce and spoon it over the potatoes. Top with the strips of peppers. Cover tightly with heavy-duty foil (or cover with the lid) and slide into the oven. Braise until the steaks and potatoes are fork-tender but not falling apart, about 1 hour.
  7. The finish: Remove the foil, increase the oven temperature to 375 degrees, and braise until the tomato sauce is brown and crusty around the edges. another 20-25 minutes.

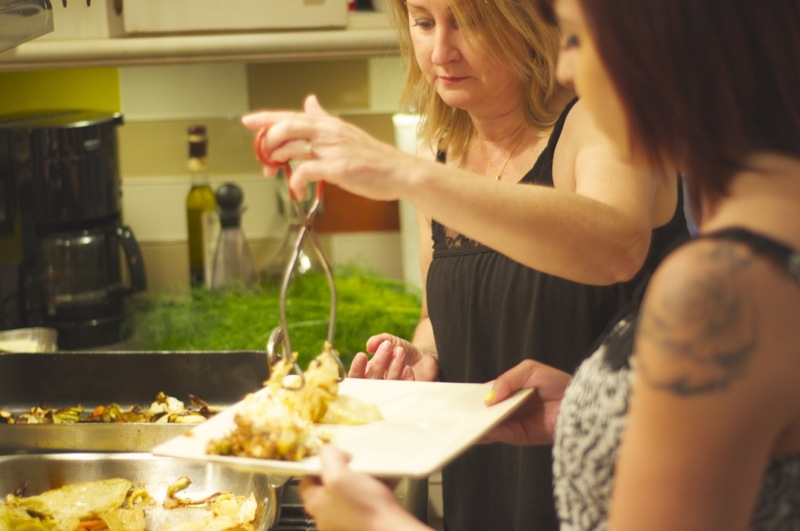
So because we were in such high altitude, the braise took over 2 hours!  .. which is why I don’t have a photo of the dish plated .. we were so hungry we just dug in.

I’d highly recommend a visit to Ouray in the fall – it’s absolutely gorgeous!  My mom and dad joined us for a few days and there was plenty of room for us to share meals together in the Airstream.

A must-do if you ever make your way up there?  Stop in at Khristopher’s Culinaire right on Main Street.  The owner knows everything there is to know about brewing coffee, he’s got a huge collection of spices from around the world which are very hard to find, and is just a lovely person to visit with.

Classic Cast Iron

IMG_5117 (1)I’m a huge fan of having the appropriate tools to prepare food. This past weekend I came across an interesting story in the Wall Street Journal about the resurgence of cast iron and copper pots. Non-stick cookware was all the rage during my teenage years, and while a quality non-stick skillet comes in handy when preparing morning eggs, it’s uses are really limited. Check out this link to see my preferred non-stick skillet, and check out this link to see my blog post about copper pots.Ozeri skillet

I recently heard a respected TV chef answer the question “If you were stranded on an island with only one pot or pan, what would it be?” His answer kinda surprised me .. his pot of choice was a dutch oven. After giving it some thought, I totally agree!

Dutch ovenThese super versatile pots are the bees knees when it comes to kitchen tools. The heavy cast iron holds heat like none other, and the enamel makes them easier to clean than a non-stick skillet. The problem with non-stick? The finish cannot tolerate high heat, and at some point it deteriorates and starts peeling off (definitely not something I want to ingest!)

There are so many advantages to cooking with a good quality dutch oven .. here’s just a few:

Fond
You know those browned bits that are left in a skillet after searing meat or vegetables? They are full of flavor and an important element to a good gravy or sauce.

Braise
Molly Stevens taught me so much about techniques of braising. The heavy lid and overall design of a dutch oven make it the ideal choice for slowly cooking meat in liquid, guaranteed to tenderize those cheaper cuts of meat.

Stews
Sautéing aromatics in a dutch oven also creates a flavorful fond, adding significant flavor to any stew. Many recipes suggest “deglazing” your pan, which is simply adding liquid (wine or stock is my preference) to loosen those tasty bits and incorporate them into a sauce.

They’re heavy pots!
Today while browsing in the Le Creuset store, I saw a pot with a glass lid. The saleswoman explained that some shoppers complained that their dutch ovens were too heavy so the company started offering glass lids to make them more manageable. OK people, seriously .. they’re not that heavy! The best way to determine if you should be carrying a full-sized dutch oven is to grab the fat on the back of your arm. If it’s more than you’re happy with, stick to cooking with cast iron dutch ovens. And if you’re happy with what you see, still stick with cast iron to keep it that way!

Cast iron skilletsMy second tool of choice, if I were to be stranded? Without question, it would definitely be a cast iron skillet. I have three, and many times I wish I had more. My 12” iron skillet is my most used kitchen tool, hands down. A seasoned skillet is able to tolerate high heat, and its versatility and uses are endless. It works well on a cooktop, can easily be moved into an oven (frittata! yum!) in the smoker, or even my Santa Maria barbecue. Also, if you’re taking food to a friend’s house, transporting in a cast iron pot or dutch oven really helps hold in the heat.

So seriously, in the past few weeks, I’ve used this skillet for the following:

→ Searing beef chuck for a stew (check out this link for my favorite beef stew recipe, courtesy of Ina Garten)
→ Searing salmon on the cooktop, then transferring to oven to complete (check out this link to my favorite hoisin glazed salmon recipe)
→ Warming tortillas for pulled pork tacos
→ Sautéing aromatics (onion, celery, garlic) on the cooktop then moving to my Santa Maria wood-fired barbecue for a smoky barbecue sauce
→ Searing filet mignon steaks
→ Browning breakfast sausages
→ French toast
→ Stir-fried broccoli with prosciutto
→ Cooking mushrooms on the barbecue
→ Warming our homemade sausage

So, if you haven’t already invested in a heavy cast iron skillet and quality dutch oven, drop everything and go shopping!

I forgot to wear green

St. Patrick's Day11 Having been to Ireland a couple of times, I have an appreciation for St. Patrick and all that he did to help his people.  The interesting thing was, here in the US we all wear green on St. Patrick’s day, but in Ireland, I didn’t see much green .. only a whole lot of fluorescent.  We learned from the locals that one way of complimenting an Irish baby is to tell mom that the baby looks very “Celtic” .. loved that.  While thinking about what libations to serve with my lamb Shepherd’s Pie, I was reflecting on time spent with Curt’s Irish Uncle Brendan, wondering if he had chosen Bushmills or Jameson to celebrate.  Knowing that he’s a Catholic, he probably chose for the Jameson .. or he could have surprised me and reached for a Guinness.

In my book, there’s no better way to celebrate than gathering with friends over a good, hearty meal.  Here’s what was cookin’ in my kitchen last Sunday.

St. Patrick's Day01I feel strongly that every St. Patrick’s Day feast should begin with fresh soda bread. Mmmm .. one of my favorites!  I experimented with a new recipe from Epicurious, called Brown Butter Soda Bread.  I was drawn to this particular recipe because it included fresh rosemary, rolled oats, and was topped with ground black pepper. Definitely a keeper!

Ingredients
1/4 cup (1/2 stick) unsalted butter
3 1/2 cups all purpose flour
1/2 cup old-fashioned oats
1 tablespoon sugar
1 tablespoon chopped fresh rosemary
2 teaspoons baking powder
1 teaspoon baking soda
1 teaspoon salt
3/4 teaspoon ground black pepper plus additional for topping
1 3/4 cups buttermilk
1 egg white, beaten to blend

St. Patrick's Day02Directions
Position rack in center of oven and preheat to 375°F. Stir butter in heavy small saucepan over medium heat until melted and golden brown, about 3 minutes. Remove from heat.

Stir flour, oats, sugar, rosemary, baking powder, baking soda, salt, and 3/4 teaspoon pepper in large bowl to blend. Pour buttermilk and melted browned butter over flour mixture; stir with fork until flour mixture is moistened.

Turn dough out onto floured work surface. Knead gently until dough comes together, about 7 turns. Divide in half. Shape each half into ball; flatten each into 6-inch round. Place rounds on ungreased baking sheet, spacing 5 inches apart. Brush tops with beaten egg white. Sprinkle lightly with ground black pepper. Using small sharp knife, cut 1/2-inch-deep X in top of each dough round.St. Patrick's Day07

Bake breads until deep golden brown and tester inserted into center comes out clean, about 45 minutes. Cool breads on rack at least 30 minutes. Serve warm or at room temperature.

Note: you’ll get the most tender soda bread by kneading the dough gently, just until it comes together, so the gluten is minimally developed.

St. Patrick's Day09For our main dish, I decided to make some serious comfort food … Shepherd’s Pie.  Found this recipe on Epicurious, as well. I decided to make it with half ground lamb and half beef just to keep things interesting, and added Worcestershire sauce, a pinch of nutmeg and increased the amount of tomato paste.  Also jazzed up the mashed potato crust by adding a little sour cream and cream cheese.  Delicious!  I doubled this recipe, and made one of them in my Mauviel rondeau, which made for a beautiful serving dish.

St. Patrick's Day06Ingredients
1 tablespoon vegetable oil
1 large onion, peeled and chopped
1 large carrot, peeled and chopped
1 pound ground lamb (or substitute half with another ground meat)
1 cup beef or chicken brothSt. Patrick's Day05
1 tablespoon tomato paste
1 teaspoon chopped fresh or dry rosemary
1 tablespoon chopped Italian parsley
1 cup frozen peas
2 pounds russet potatoes, peeled and cut into chunks
6 tablespoons unsalted butter
1/2 cup milk (any fat content)
Kosher salt to taste

St. Patrick's Day03Directions
1. Preheat oven to 375°F.
2. In a large sauté pan over medium-high heat, heat the oil, then add the onion, carrot, and meat. Cook until browned, 8 to 10 minutes.
3. Drain the fat and add the broth, tomato paste, and herbs. Simmer until the juices thicken, about 10 minutes, then add the peas.
4. Pour the mixture into a 1 1/2-quart baking dish; set aside.
5. Meanwhile, bring the potatoes to a boil in salted water. Cook until tender, about 20 minutes; drain.
6. Mash the potatoes with the butter, milk, and salt.
7. Spread them over the meat mixture, then crosshatch the top with a fork.
8. Bake until golden, 30 to 35 minutes.St. Patrick's Day04

Tip • Instead of using a baking dish for the Shepherd’s Pie, keep the filling in the (ovenproof) sauté pan in which you cook it, top with the crust, and bake it all in the oven for a skillet version that won’t dirty another dish.

Lastly, what Irish meal would be complete without cabbage?  Molly Stevens has an excellent recipe, World’s Best Braised Cabbage. Her recipe comes from friends in Richmond, Virginia who, as she says, “were smitten by a braised cabbage side dish at their favorite restaurant,” so Molly decided to try and re-create it at home.  It’s so simple, once you make it, you won’t need to look at the recipe again.

St. Patrick's Day08Ingredients
1 medium head green cabbage (about 2 pounds)1 large yellow onion, thickly sliced
1 large carrot cut into 1/4″ rounds
1/4 cup chicken stock
1/4 cup extra-virgin olive oil
Coarse salt and freshly ground black pepper
1/8 teaspoon crushed red pepper flakes
Fleur de sel or coarse sea salt

Directions
1. Heat oven to 325 degrees. Lightly oil a large gratin or roasting dish.
2. Peel off and discard any bruised or ragged outer leaves. The cabbage should weigh close to 2 pounds so it will fit in a single layer in the baking dish. If necessary, cut away a wedge of the cabbage to trim it down to size.
3. Cut the cabbage into 8 wedges. Arrange the wedges in the baking dish, doing your best to make a single layer.
4. Scatter in the onion and carrot. Drizzle over the oil and stock. Season with salt, pepper and pepper flakes. Cover tightly with foil, and slide into the middle of the oven to braise until the vegetables are completely tender, about 2 hours. Turn the cabbage wedges after an hour. Don’t worry if the wedges want to fall apart as you turn them, just do your best to keep them intact. If the dish is drying out at all, add a few tablespoons of water.
5. Once the cabbage is completely tender, remove the foil, increase the oven heat to 400 degrees and roast until the vegetables begin to brown, another 15 minutes or so. Serve warm or at room temperature, sprinkled with fleur de sel or other coarse salt.

Kathy molly stevensI HIGHLY recommend investing in Molly Stevens cookbooks, All About Braising (winner of a 2005 James Beard award) and All About Roasting (winner of a 2012 James Beard award).  You won’t be disappointed!  I was fortunate to attend a cooking class she hosted last year .. such a treat.

Dinner is served!

St. Patrick's Day10

Chicken Fricassee

So I consider myself to be a safety-aware chef … but recently I really blew it.  Since autumn has finally arrived in Pasadena I was drawn to one of my favorite cookbooks, All About Braising by Molly Stevens.  While slicing onions on my mandolin to make chicken fricassee, my thumb got a little too close to the blade, and … ouch … I lost a few layers of skin!  I won’t make that same mistake twice.  Yawwwwch!

In spite of the thumb incident, this dish turned out beautifully and I’m anxious to share Molly’s recipe with you.

Chicken Fricassee with Artichokes & Mushrooms
One 3 1/2 to 4 pound chicken, cut into 8 pieces or 2 3/4 pounds legs and thighs
Coarse salt and freshly ground black pepper
All-purpose flour for dredging
4 tablespoons unsalted butter
One 14-ounce can artichoke bottoms (not hearts) drained, rinsed and quartered
3/4 pound (12 ounces) button mushrooms, quartered
1 medium yellow onion (about 6 ounces) thinly sliced
1/4 cup Cognac, or other good brandy
1 1/4 cups dry white wine or dry white vermouth
Two 2- to 3-inch leafy fresh thyme sprigs
One 2- to 3-inch leafy fresh marjoram sprig
1 garlic clove, minced
1/2 cup creme fraiche
1/2 lemon (optional)

  1. Heat oven to 325 degrees.
  2. Dredging the chicken: rinse the chicken pieces and dry well with paper towels. Generously season with salt and pepper. Spread the flour in a wide shallow dish. Dredge chicken pieces, turning to coat both sides.
  3. Searing the chicken: Heat the butter in a Dutch oven over medium heat. When the butter stops foaming, add half of the chicken pieces skin side down and cook until the skin is an even blond color but not at all brown, about 4 minutes. Turn and cook the second side until blond, another 4 minutes or so. Transfer to a large plate or tray to catch any drips. Cook the second batch of chicken; set aside with the rest.
  4. The aromatics: Return the pot to medium heat; add the artichokes, mushrooms and onion; season with salt and pepper. Cook until they begin to soften, about 5 minutes. Transfer the vegetables to the platter with the chicken.
  5. Flaming the Cognac and building the braising liquid: Increase the heat to medium-high. Add the Cognac and carefully ignite it with a match. Be careful as the flames can be high. Let the flames die down, about 2 minutes. Scrape the bottom of the pot as the Cognac boils to dislodge any lovely browned bits. Add the wine and bring to a boil. Simmer to reduce by one quarter, 8 to 10 minutes.
  6. The braise: Add the chicken pieces to the pot, setting the breasts on top to protect them from overcooking. Add the vegetables, along with the thyme, marjoram, garlic and any juices that have collected on the platter. Cover the pot with parchment paper, then cover tightly with the lid. Slide onto a rack in the lower third of the oven and braise gently for 15 minutes. Turn the breast pieces over and continue braising until the chicken is fork-tender, another 40-45 minutes.
  7. The finish: With a slotted spoon or tongs, lift the chicken pieces and most of the mushrooms and artichokes from the pan; transfer to serving platter. Skim as much surface fat as you have the patience for from the braising liquid. Set the sauce over medium-high heat and bring to a strong simmer. Lift out and discard the herb sprigs. Let the sauce simmer vigorously to reduce in volume and concentrate in flavor for about 5 minutes. Add the creme fraiche and continue to simmer to reduce to the consistency of a thin cream soup, another 5 minutes or so. Taste for salt and pepper. If the sauce tastes flat, add a squeeze of lemon.

I served the chicken with spaghetti squash and braised cabbage (another excellent Molly Stevens recipe).